

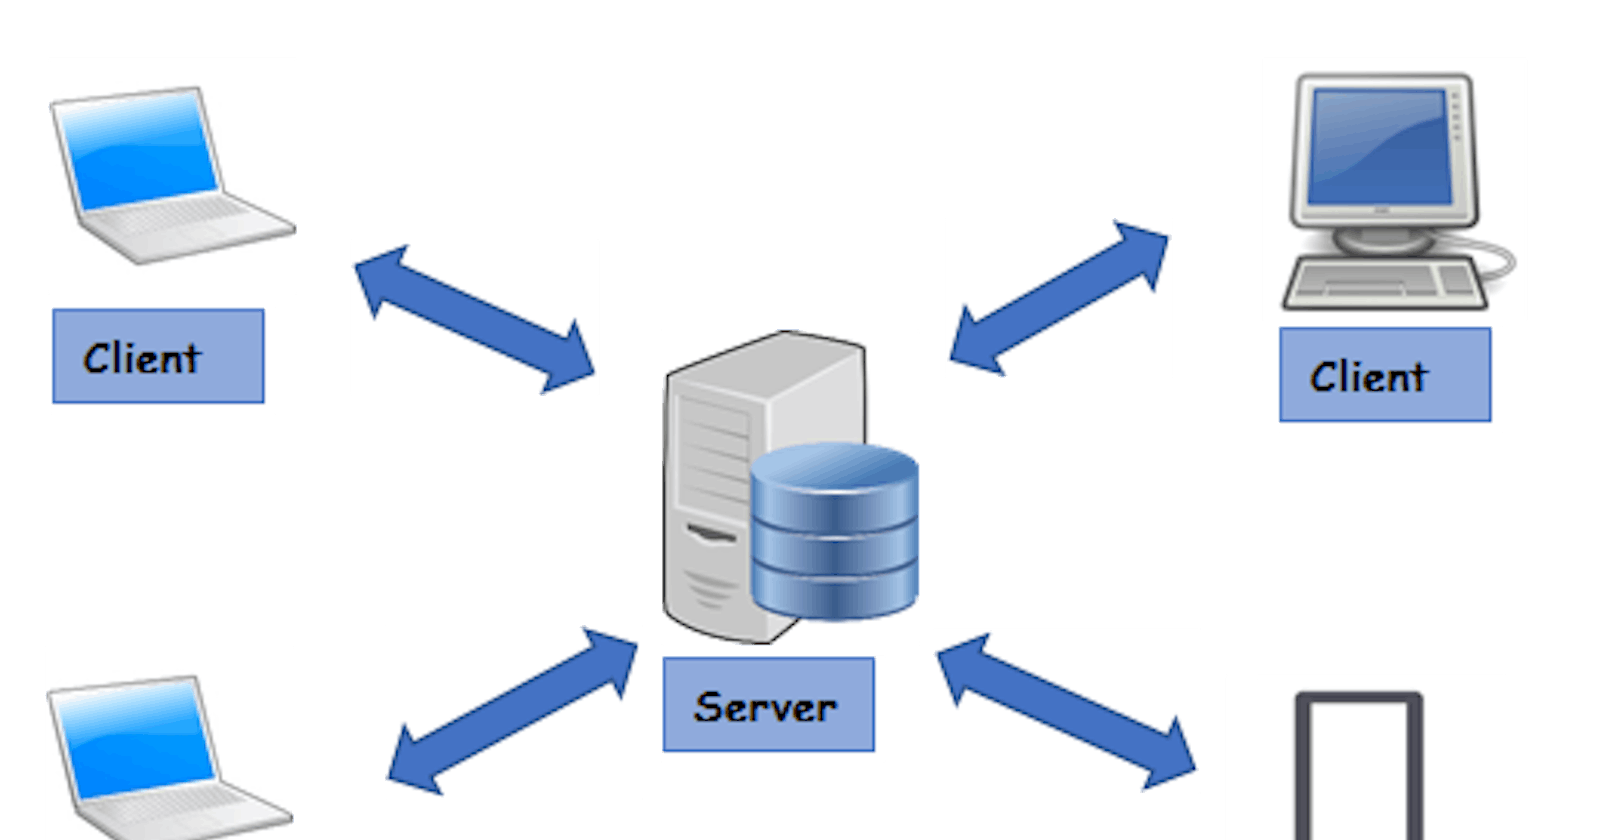
In this article, we will be using Cisco Packet Tracer for creating a Local Area Network (LAN) using Hub. A number of PCs or computers will be connected to this hub and we will be checking whether a data packet sent by one computer is received by the intended computer or not and whether the intended computer send reply packet for acknowledgement to the sender computer after receiving the packet.
Steps to create a LAN using Hub-
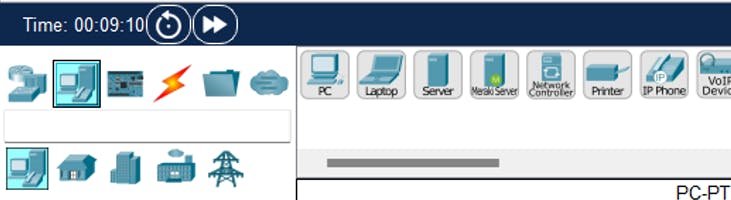
Open the Cisco Packet Tracer application. In the bottom-left menu, select the Hubs option, then drag it and drop it in the workspace. Upon clicking the hub, we have added total 10 ports to the hub, so we can connect up to 10 PCs.

We have to make sure that the Hub’s switch is on. Now in the bottom-left menu, click on ‘End-devices’ and drag and drop PC to the workspace. We have to add 10 PCs for our LAN.
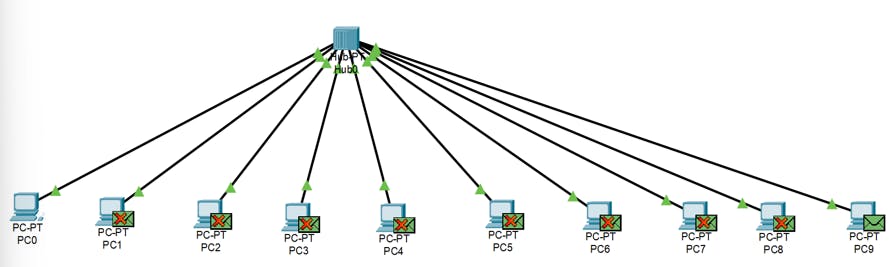
We have added 10 PCs to our workspace-

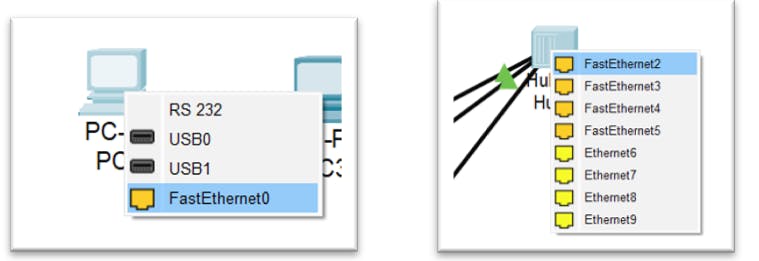
Select ‘Connections’ option from the bottom-left menu and select the Copper Straight-Through wire. Click on the PCs and connect the wire to the Hub. Do the same for all the 10 PCs to connect them to the hub. Select the FastEthernet() from the PCs and while connecting to hub, select the respective ports.

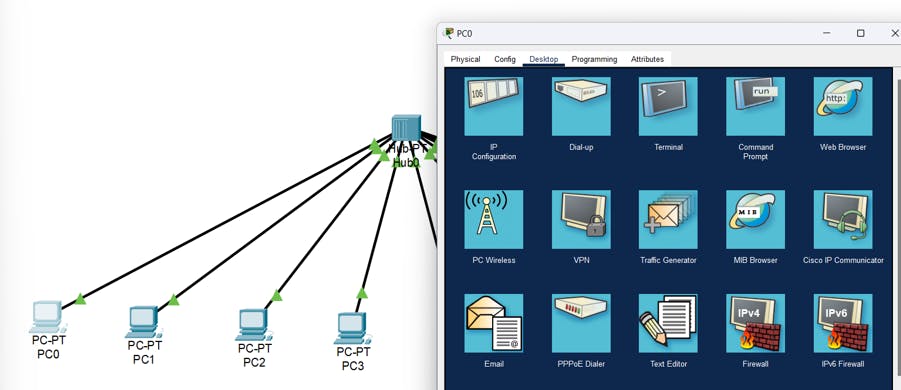
Now, we will assign IP address to each PC. For this, click on a PC, go to the ‘Desktop’ menu, and click on ‘IP Configuration’.
In the IP Configuration window, enter the IPv4 address manually starting from 10.10.10.1 to 10.10.10.10 for all 10 PCs.

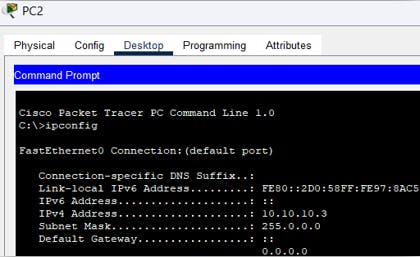
To check whether the IP addresses are assigned to the PCs, click on any PC and in the Desktop menu, click on Command Prompt. Type in ‘ipconfig’-
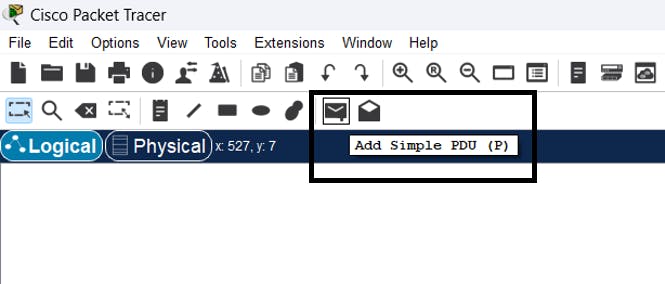
In the bottom-right menu, click on the ‘Simulation’ option. In the top menu, click on the PDU (Protocol Data Unit) icon, then click on the first and last computer.
Now we can see that the status is ‘In Progress’ in the bottom menu. Now we will click on the ‘Capture then Forward’ button in the Play Controls panel.
The PDU has been sent by the first PC to the Hub.

Now the Hub broadcasts the received PDU from the first computer to all the connected PCs in the LAN. Only the computer for whom the PDU or packet is intended for receives that packet, while the rest deny it.
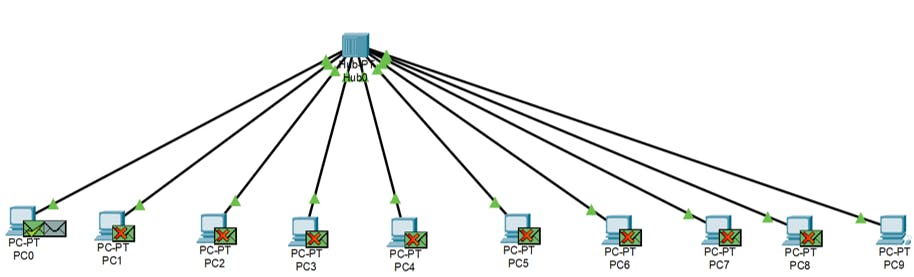
Now the destination computer sends an acknowledgement packet to the first computer via the Hub.

Now the Hub broadcasts the acknowledgement PDU to all the computers on the LAN and now only the first computer receives it as it is intended for it only while the rest deny it.
Conclusion:
Hence, in this article, we have successfully learnt how to create a Local Area Network (LAN) using Hub and verifying network connectivity through data transmission between the connected devices in Cisco Packet Tracer. The Cisco Packet Tracer is a powerful tool which allows us to experiment with network topologies and configurations and observe the effects of their changes in real-time.
